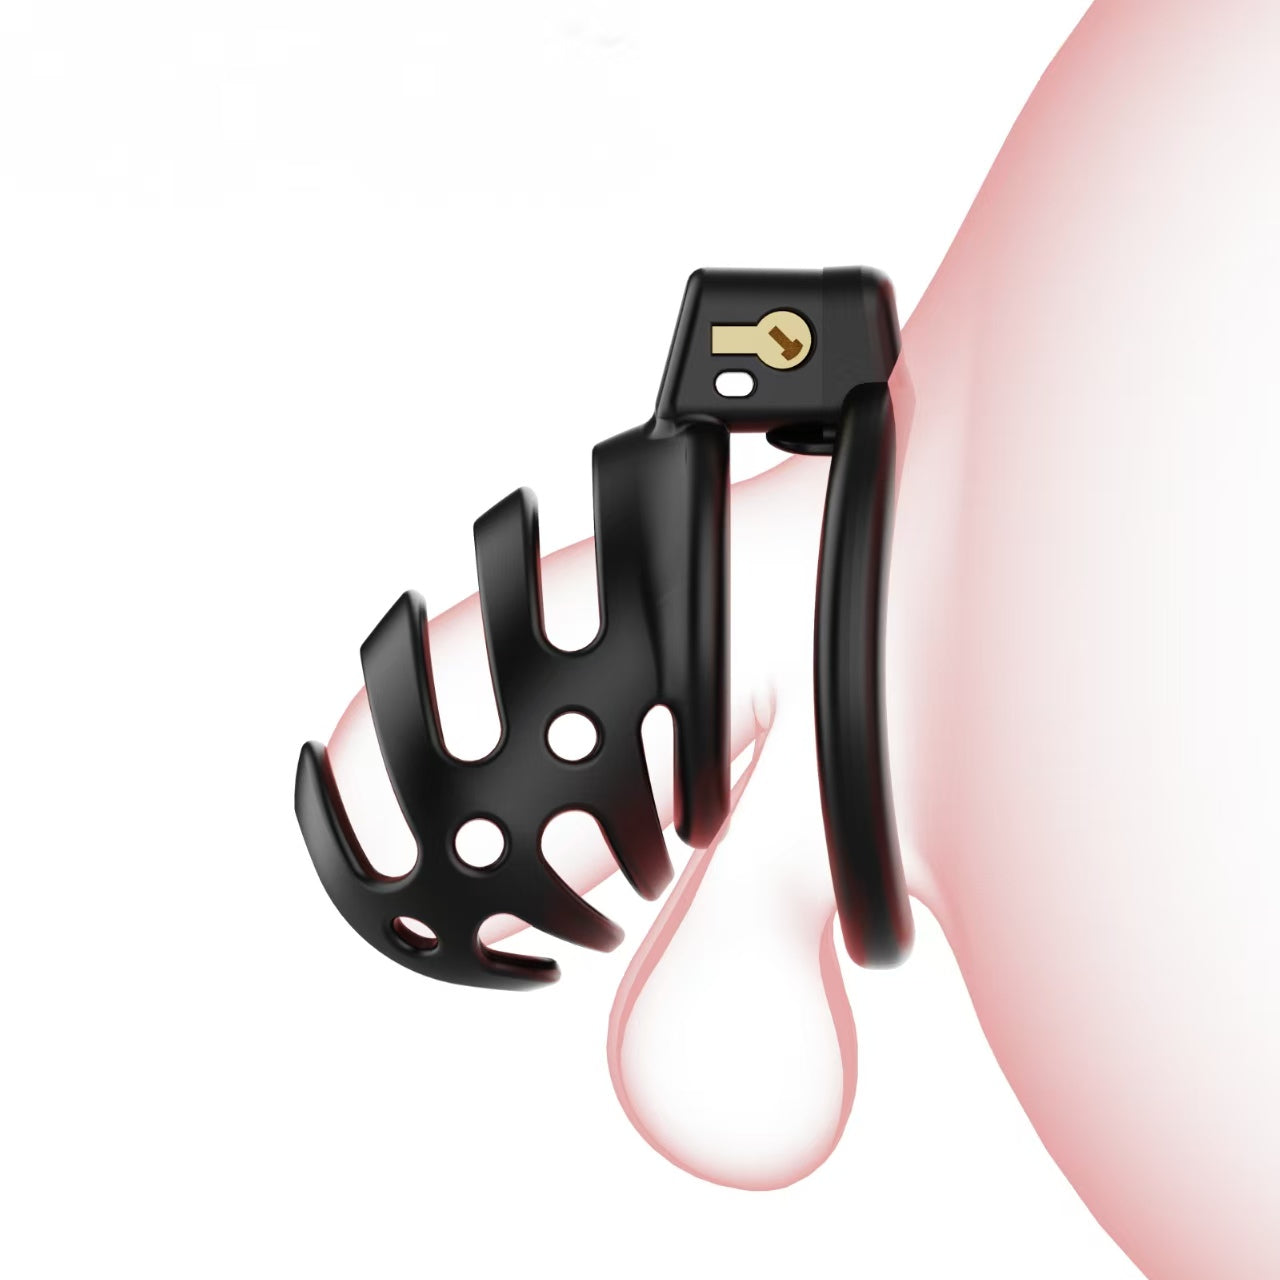
How to Put On a Chastity Cage – A Step-by-Step Guide
So, you’ve decided to wear a chastity cage. Whether this is your first time or you’re refining your technique, putting on a chastity cage properly is essential for comfort, security, and long-term wear. Follow this step-by-step guide to ensure a smooth and successful experience.
1. Prepare Your Body and Mind
Before locking yourself in, take some time to prepare physically and mentally.
Physical Preparation:
Shave or trim your pubic hair – This prevents pinching and makes cleaning easier.
Wash thoroughly – Clean your genitals, especially under the foreskin, as hygiene becomes more challenging once the cage is on.
Mental Preparation:
- Set clear goals – Are you self-locking, or is a partner involved? Decide on rules:
How long will you wear it? (A few hours, days, or long-term?)
Are breaks allowed?
What’s the purpose? (Denial, tease & denial, keyholder control?)
- Consider a chastity contract – If a partner is your keyholder, discuss expectations beforehand.
2. Putting On the Ring
The base ring is the foundation of your chastity cage. Follow these steps to fit it comfortably:
Step-by-Step:
- Hold the ring close to your body – Position it where it will sit (behind the penis and testicles).
- Insert one testicle at a time – Gently pull the scrotum to guide each testicle through the ring.
- Thread the flaccid penis through – Ensure you’re completely soft. Bend the penis downward and guide it through the ring.
- Adjust for comfort – The ring should sit snugly against your body without pinching.
💡 Pro Tip: If you feel aroused, pause and relax before continuing—trying to force it can cause discomfort.
3. Attaching the Cage
With the ring in place, it’s time to secure the cage.
Step-by-Step:
- Apply lube – A small amount on the head of your penis helps it slide into the cage smoothly.
- Align the cage with the ring – Match the locking mechanism (pins, tube, or hinge) with the ring.
- Slide the cage onto your penis – Gently push it forward, guiding your penis inside.
- If it gets stuck, use a finger (or a gap in the cage bars) to adjust.
- Secure the lock mechanism – Ensure everything aligns before locking.
⚠ Warning: Be careful not to pinch your skin when closing the cage!
4. Locking It & Handling the Keys
This is the moment of commitment—once locked, the cage stays on until your predetermined release time.
Locking Options:
- Padlock (external) – Classic but may jingle.
- Internal lock (integrated tube) – More discreet and secure.
Final Steps:
- Insert the lock – Gently turn the key to secure it.
- Hand over the keys (if applicable) – Give them to your keyholder or store them safely (e.g., a lockbox).
- Adjust mentally – Remind yourself of your goals and embrace the sensation of being locked.
Aftercare & Tips for First-Time Wearers
- Start slow – Wear the cage for short periods before attempting long-term use.
- Check for irritation – Remove immediately if you experience pain, numbness, or discoloration.
- Clean regularly – Use a cotton swab or showerhead to clean inside the cage.
- Listen to your body – If something feels wrong, take a break and reassess.
Final Thoughts
Putting on a chastity cage correctly ensures comfort, security, and enjoyment. Whether you’re exploring solo play or surrendering control to a keyholder, following these steps will help you get the most out of your chastity experience.
🔒 Ready to lock up? Browse our selection of high-quality chastity cages at chastity-device.com!
Happy (and secure) locking! 😉

